

Use these six shortcuts to select Table elements and insert columns and rows quickly in Microsoft Excel, making your use of Tables that much easier.

Image: iStock/muchomor
You’re probably familiar with selection shortcuts in Microsoft Excel. There are several that select text, sentences, whole paragraphs, and so on, so it should come as no big surprise that shortcuts also work with Table objects. In this article, we’ll quickly review six shortcuts for working in a Table object. Some select elements, others insert and delete rows and columns. All work only within the Table.
SEE: 69 Excel tips every user should master (TechRepublic)
If you’re not familiar with Tables, you’re missing a lot of flexibility and features that you don’t get when working with an ordinary range data. In a nutshell, an Excel table is a defined grid that works with your data set as a whole, rather than a range of cells. The Table is still a rectangular range of data, but tables have three key features:
- Table objects automatically expand to handle new data.
- Table objects use a special formula syntax known as structured referencing. Once you’re familiar with this referencing, you’ll find it easier to write and maintain expressions.
- Table objects support features for working with data, such as sorting and filtering.
I’m using Microsoft 365 on a Windows 10 64-bit system, but you can use older versions. You can work with your own data or download the demonstration .xlsx and .xls files. Some of these shortcuts will work in the browser edition.
How to create a Table in Excel
To create a Table, click anywhere in the data set and press Ctrl+T. In the resulting dialog, check or uncheck the My Table Has Headers, appropriately, and then click OK. Doing so will reformat your data and add auto filters to the header cells, as shown in Figure A. You can also click the Insert tab and then click Insert Table in the Tables group. (Ctrl+T doesn’t work in the browser edition.)
Figure A
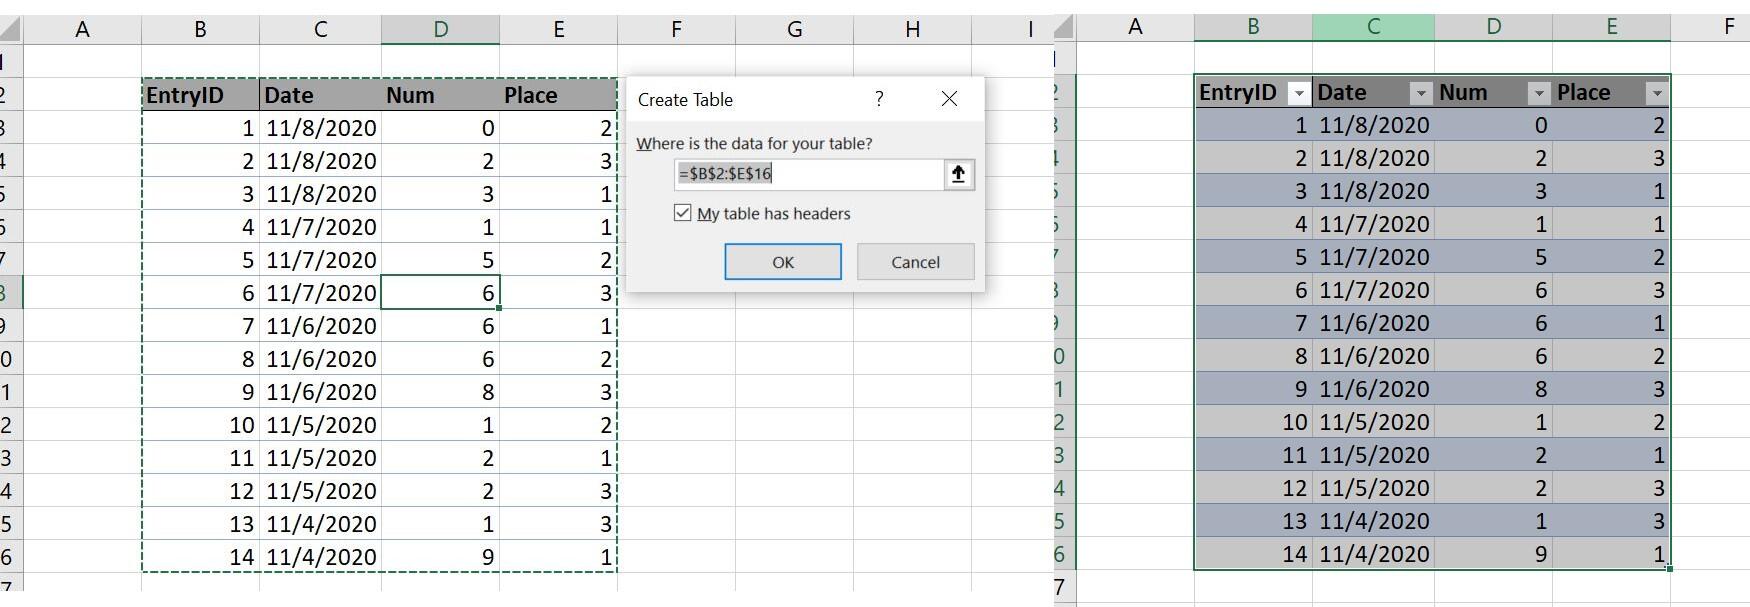
Excel adds features and flexibility to a Table object.
1. Select Table
The easiest way to select an entire Table is to click inside the Table and press Ctrl+A. Doing so selects the data, but not the headers. Another way is to use the Table Name control. Creating a Table automatically adds a named range to your sheet that represents that Table. Click inside the Table and then click the contextual Table Design tab. At the left end of the ribbon, you’ll find the Table Name control, which displays the name of the selected Table. If you want to memorize these names, you can press F5 and enter the name of the Table or enter the Table name in the Name Box (to the left on the Home tab). You can also use the Table Name control to rename a Table. If you’re going to reference the Table in expressions or VBA, I recommend that you give the Table a meaningful name.
SEE: Office 365: A guide for tech and business leaders (free PDF) (TechRepublic)
To use the mouse, click the top-left corner of the Table. When your mouse gets close, you’ll see the pointer turn to a straight arrow pointing right at the corner, as shown in Figure B. Click once to select the data. Click twice to select the data and the headers. (This mouse selection technique doesn’t work in the browser edition).
Figure B
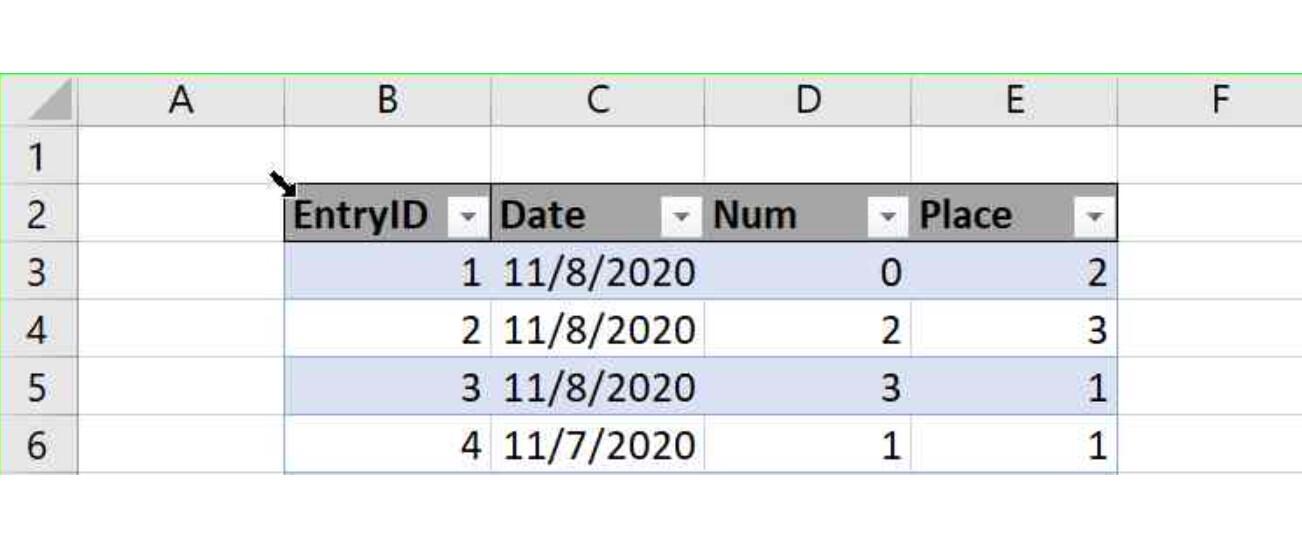
When you see this arrow, click.
2. Select a column
To select a column within a Table, select any cell in that column (within the Table) and press Ctrl+Spacebar. Doing so will select all the data cells in that column within the Table. Press Ctrl+Spacebar twice to include the header cell in the selection.
To select a column within a Table using the mouse, hover over the top of the column’s header cell. When the pointer changes to a black arrow shown in Figure C, click. Doing so clicks the data, but not the header cell. Click twice to include the header cell. (In the browser edition, you’ll see the four-arrow pointer.)
Figure C

When you see this arrow, click to select the column below.
Once you have a column selected, you can extend that selection by pressing Shift+Arrow, where that is up, down, right, or left. However, doing so will not stop at end of the Table, so be careful.
3. Select a row
Selecting a row is similar, including the extension by pressing Shift+Arrow; doing so won’t stop at the border of the Table. To select a row within a Table, click anywhere in that row, within the Table and press Shift+Spacebar.
SEE: Cheat sheet: Microsoft OneDrive (free PDF) (TechRepublic)
You can use the mouse to select a row using the same arrow technique used to select a column. Hover over the left border of the row. When the mouse turns into a black arrow, as shown in Figure D, click once to select the data. (This mouse selection technique doesn’t work in the browser edition.)
Figure D
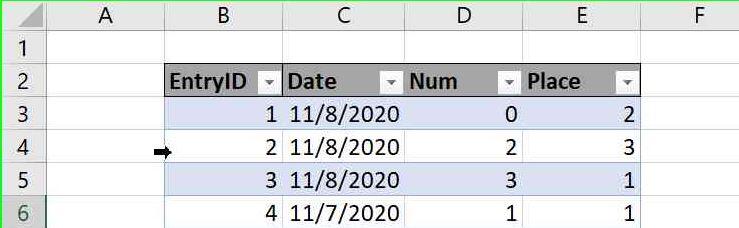
When you see this arrow, click to select the row to the right.
4. Insert a row
You probably know a couple of ways to insert a row into a sheet, but you might run across an occasion where you want to insert a row only into the Table, so you don’t disrupt surrounding data. Click any cell in the row below where you want the new row (within the Table) and press Ctrl+Shift+=. Deleting a row is similar. Select any cell in the row you want to delete (within the Table) and press Ctrl+-. (Neither of these shortcuts work in the browser edition.)
5. Insert a column
To insert a column, do the same thing, but you must select two adjacent cells within the same column before pressing Ctrl+Shift+= or Ctrl+-. (Neither of these shortcuts work in the browser edition.)
6. Toggle the Total row
If you’re familiar with the Table object, you probably know that you can add a Total row that will evaluate Table data and return several summary values using several functions. To toggle this row on and off, press Ctrl+Shift+T. (This shortcut doesn’t work in the browser edition.)
Also see
This article is auto-generated by Algorithm Source: www.techrepublic.com