Welcome to TNW Basics, a collection of tips, guides, and advice on how to easily get the most out of your gadgets, apps, and other stuff.
WiFi connections are the centerpieces of our work lives. So, if I get connected to a wrong, or a slow network, I get annoyed as hell.
A lot of times my router gets reset because of power cuts and surges. And as a result, my Mac reconnected to it on the 2.4GHz channel rather than the 5GHz channel. I would realize this only after working for a few minutes and noticing that all pages are loading at a slower speed.
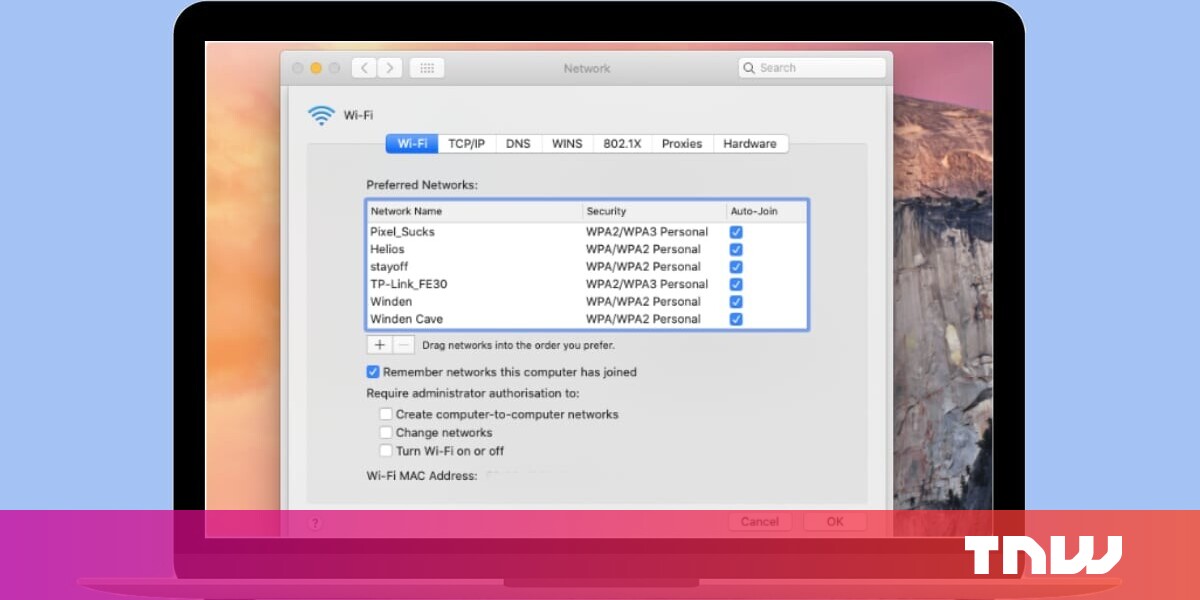
The solution was simple: just change the priority of the saved WiFi network, so it would connect to the 5GHz channel automatically. Here’s how you can do it:
- Click on the Apple logo in the menu bar on your Mac, and click on System Preferences.
- Head to Network settings and click on the Advanced button.
- You’ll see your WiFi networks listed there. You’ll simply have to drag them in order of connection preferences; the top network gets higher priority.
This is extremely useful when you have multiple networks at your home, work, or cafes you visit. You can also remove redundant networks you often don’t connect to from the menu.
This article is auto-generated by Algorithm Source: thenextweb.com


